")


Debian用 I2P パッケージ
すべてのバージョンのDebian または Ubuntu
Debianのパッケージは下記のほとんどのプラットフォームで動作します:- Ubuntu (Bionic 18.04 以降)
- Mint (Tara 19) 以降
- Debian Linux (Buster以降)
- Knoppix
Ubuntu及び Linux Mint や Trisquel などの派生に向けての説明
コマンドライン経由でPPAを追加して、I2Pをインストールする
-
ターミナルを開いて入力:
sudo apt-add-repository ppa:i2p-maintainers/i2p
このコマンドは/etc/apt/sources.list.dにPPAを追加し、レポジトリが署名されたGPG鍵を取得します。 GPG鍵はパッケージがビルドされてから改竄されていないか確認します。 -
入力して、新しいPPAのパッケージマネージャーを通知:
sudo apt-get update
このコマンドは、システムで有効になっている各レポジトリから、その前のコマンドで追加された I2P PPA を含む最新のソフトウェアの一覧を取得します。 - I2P をインストールする準備が出来ました!
sudo apt-get install i2p
ソフトウェアセンターを使いPPAで追加
-
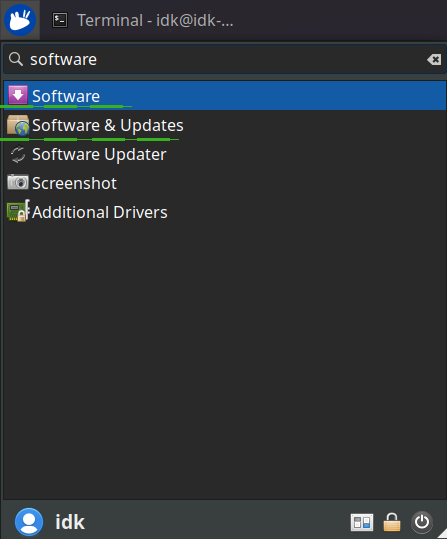
アプリケーションメニューを経由して「ソフトウェアとアップデート」を開きます。
-
「他のソフトウェア」タブを選択して、PPA設定の最下部にある「追加」ボタンをクリックします。
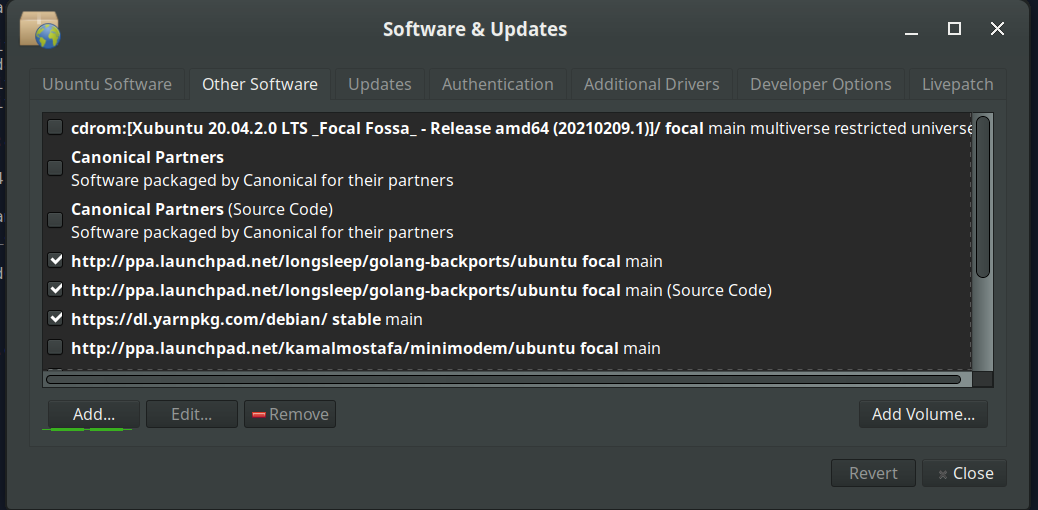
-
PPAのダイアログ内に URL:
ppa:i2p-maintainers/i2pを貼り付けて、PPAに追加してください。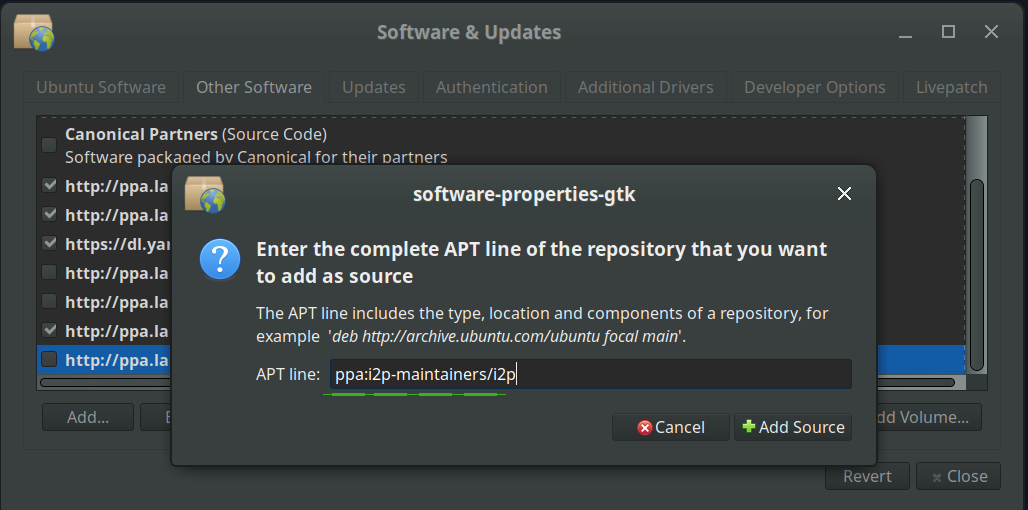
-
「再読込」ボタンでレポジトリ情報をダウンロードします。

-
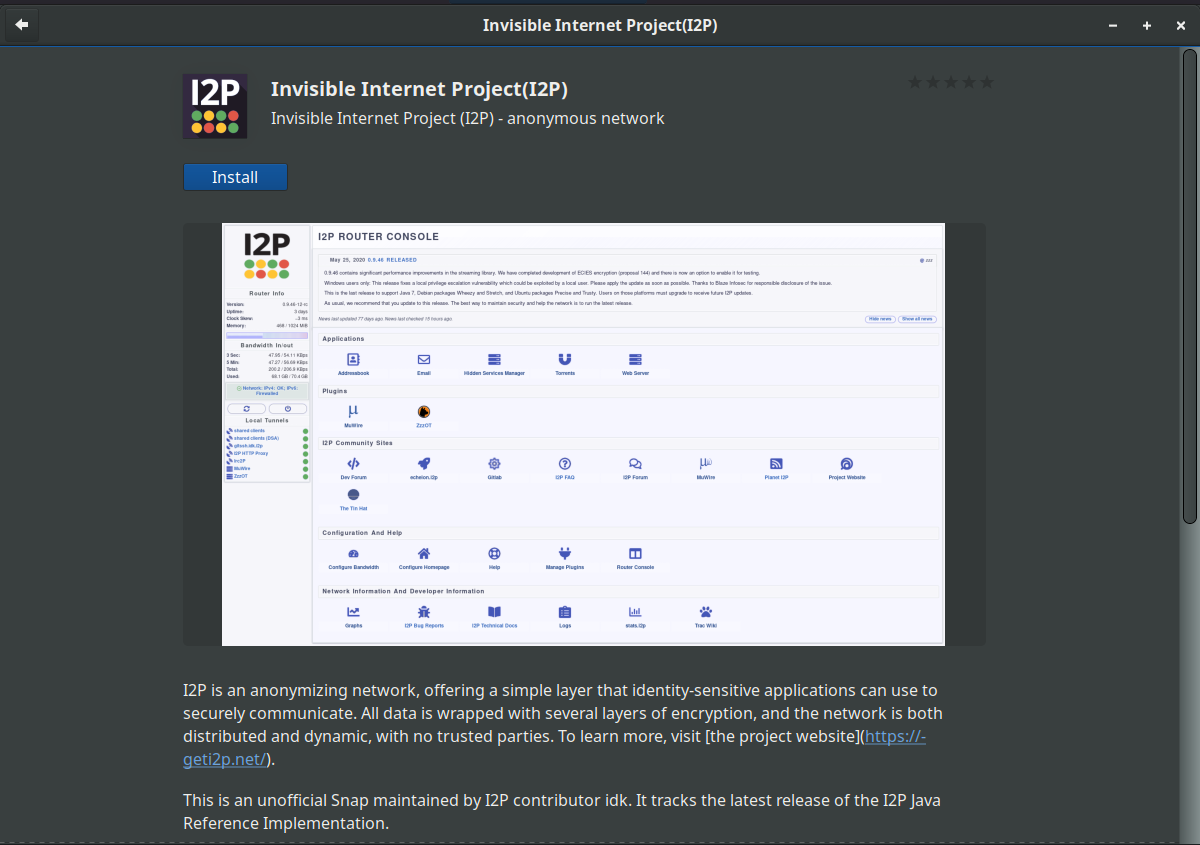
アプリケーションメニューから「ソフトウェア」ツールを使い、I2Pソフトウェアをインストールします。
Debian 用の説明
NOTICE:
Our old Debian repos deb.i2p2.de and
deb.i2p2.no are EOL.
Please follow these instructions
to update to the new repository, deb.i2p.net.
注意: 以下の手順は root アクセスで実行してください (すなわち、
su でユーザを root に切り替えるか、各コマンドの前に sudoを付けてください)。
- ,
apt-transport-https、curlとlsb-releaseがインストールされた状態であると、確実にしてください。sudo apt-get update sudo apt-get install apt-transport-https lsb-release curl-
Debian wikiのこのページ上で、使用するDebianのバージョンを確認して、
あなたのシステム上で
/etc/debian_versionを使って間違いがないかを確認してください。 そして、DebianのBullseyeか、これより新しいディストリビューションで、/etc/apt/sources.list.d/i2p.listを作成する以下のコマンドを実行してください。
# Use this command on Debian Bullseye or newer only. echo "deb [signed-by=/usr/share/keyrings/i2p-archive-keyring.gpg] https://deb.i2p.net/ $(lsb_release -sc) main" \ | sudo tee /etc/apt/sources.list.d/i2p.list# Use this command on Debian Downstreams like LMDE or ParrotOS only. echo "deb [signed-by=/usr/share/keyrings/i2p-archive-keyring.gpg] https://deb.i2p.net/ $(dpkg --status tzdata | grep Provides | cut -f2 -d'-') main" \ | sudo tee /etc/apt/sources.list.d/i2p.list# Use this command on Debian Buster or older only. echo "deb https://deb.i2p.net/ $(lsb_release -sc) main" \ | sudo tee /etc/apt/sources.list.d/i2p.list# Use this command on Debian Buster or older only. echo "deb https://deb.i2p.net/ $(dpkg --status tzdata | grep Provides | cut -f2 -d'-') main" \ | sudo tee /etc/apt/sources.list.d/i2p.list - リポジトリに署名するために使用する鍵をダウンロードします:
curl -o i2p-archive-keyring.gpg https://geti2p.net/_static/i2p-archive-keyring.gpg - 鍵の指紋を表示します。
gpg --keyid-format long --import --import-options show-only --with-fingerprint i2p-archive-keyring.gpg7840 E761 0F28 B904 7535 49D7 67EC E560 5BCF 1346 - 鍵束のディレクトリに鍵束をコピーします:
sudo cp i2p-archive-keyring.gpg /usr/share/keyrings/etc/apt/trusted.gpg.d.sudo ln -sf /usr/share/keyrings/i2p-archive-keyring.gpg /etc/apt/trusted.gpg.d/i2p-archive-keyring.gpg -
入力して、新規レポジトリのパッケージマネージャーを知らせます:
sudo apt-get update - I2P をインストールする準備が出来ました!
i2p-keyringパッケージをインストールすると、確実にレポジトリの GPG 鍵への更新を受信します。
sudo apt-get install i2p i2p-keyring
インストールプロセスが完了した後、I2Pを始めるの次のパートに移動して、システムの設定ができます。
インストール後の作業
これら I2P のパッケージを使用して、以下の3つのやり方で、I2P ルーターを始めることができます。-
"要求に応じて" i2prouter スクリプトを使用してください。コマンドラインから "
i2prouter
start
" を走らせるだけで構いません。 (注: sudoを使用したり、rootで起動するのはやめてください!) -
"要求に応じて""
i2prouter-nowrapper"を走らせて、 java サービスラッパーを無効にしてください(非Linux/非x86システムで必要)。 (注: sudoを使用したり、rootで起動するのは やめてください!) -
システムをブートした際に、ログインする前の時点で自動的に起動するサービスとして。サービスは
ルートとしてまたはsudoを使用して、"
dpkg-reconfigure i2p"で有効にできます。
初回インストール時に、できれば忘れずNAT/firewallを調整してください。転送ポートは、ルーターコンソールのネットワーク設定ページeにあります。転送ポートに関するアドバイスが必要であれば、 portforward.com がお役に立つかもしれません。
設定ページで、 規定の設定である 96KB/s ダウン 40KB/s アップはかなり控えめであるので、 帯域幅設定を確認・調整してください。
ブラウザ経由でI2Pサイトに到達したい場合、簡単なやり方はブラウザのプロキシ設定ページで確認可能です。